

















Why You Need to Convert Logo to PES File Format for Embroidery

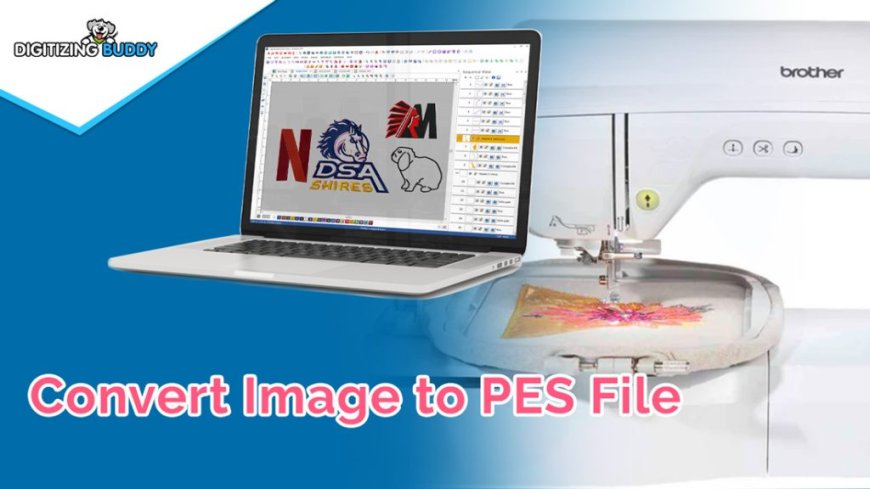
That crisp company logo on your screen won't magically stitch itself onto a polo shirt or hat. What stands between your digital design and perfect embroidery is a crucial translation process Convert logo to PES file format. This specialized format does far more than just make your design machine-readable; it determines whether your embroidered logo looks professional or like a DIY disaster.
The PES File: Your Embroidery Machine's Native Language
Think of PES files as the GPS for your embroidery machine. While your computer displays logos as pixels, embroidery machines need stitch-by-stitch instructions:
- Precise needle paths(where to move and when)
- Thread color sequencing(exact order of color changes)
- Stitch types(satin, fill, or running stitches)
- Density settings(how tightly packed stitches should be)
When you try loading a JPEG or PNG directly, your Brother machine (or most home embroidery machines) simply shrugsit doesn't speak "image file." The PES format bridges this gap with machine-specific commands that account for everything from thread tension to fabric stretch.
What Happens Without Proper PES Conversion
Attempting to bypass proper PES conversion leads to all the embroidery nightmares you want to avoid:
The Pixelated Mess
Your logo's clean edges turn jagged as the machine tries to interpret pixels as stitches. Thin lines disappear, curves develop stair-step artifacts, and small text becomes unreadable.
The Fabric Eater
Dense areas without proper underlay cause puckering. Stitches bunch up, distorting both your design and the garment itself. That $30 polo shirt? Now ruined.
The Thread Waster
Poorly optimized stitch paths lead to excessive jumps between sections, wasting thread and time. You'll spend more on supplies and still get inferior results.
The Needle Breaker
Auto-generated files often use impossibly dense stitching for certain areas, snapping needles mid-design.
Professional embroiderers see these issues daily from clients who tried cheap online converters or DIY software. The fix? Always start with a properly digitized PES file.
Beyond Brother: Why PES Dominates Home Embroidery
While PES was developed for Brother machines, it's become the lingua franca of home embroidery because:
- Wide compatibility: Works with most consumer machines (Babylock, some Janome models)
- Feature-rich: Supports all stitch types and advanced functions
- Editable: Allows adjustments even after initial digitizing
Industrial machines often use DST files, but PES remains the gold standard for small businesses and hobbyists. Even commercial digitizing services typically provide PES alongside other formats.
The Conversion Process: More Than File Translation
True PES conversion involves three layers of adaptation:
1.Design Optimization
- Simplifying complex elements that won't stitch well
- Adjusting line weights and spacing
- Converting colors to available thread palettes
2.Stitch Engineering
- Assigning appropriate stitch types to each element
- Building underlay structures for stability
- Sequencing color changes efficiently
3.Machine-Specific Tuning
- Accounting for your machine's maximum stitch speed
- Setting optimal trim points
- Adjusting for hoop size limitations
This explains why simply changing a file extension from .PNG to .PES never worksit's like expecting a Spanish novel to make sense after running it through Google Translate to Japanese without editing.
DIY vs Professional Conversion
When DIY Works
- Your logo is extremely simple (basic shapes, no text)
- You're using auto-digitizing software like SewArt or Embrilliance
- You're willing to stitch multiple test runs and make adjustments
When to Hire a Pro
- Your logo has small text or fine details
- Branding consistency is critical
- You're working with difficult fabrics (stretch knits, fleece)
- Time is more valuable than money
Professional digitizing services like Absolute Digitizing typically charge $15-$50 per logo but save you hours of frustration and wasted materials.
The Hidden Costs of Cheap Conversion
That $5 Fiverr PES conversion might seem tempting, but you risk:
- Multiple ruined garmentsfrom poor stitch settings
- Hours of manual fixesto make the file usable
- Embarrassing end productsthat hurt your brand image
Investing in quality PES conversion pays for itself in professional results and avoided do-overs.
Future-Proofing Your PES Files
Smart embroiderers:
- Keep original vector files(AI/EPS) for future conversions
- Save multiple PES versionsfor different applications (hats vs. shirts)
- Document successful settingsfor specific fabrics
This ensures you can recreate perfect embroidery years later, even if you upgrade machines.
The Bottom Line
Converting your logo to PES isn't an optional stepit's the foundation of quality embroidery. Just as you wouldn't build a house without blueprints, don't attempt embroidery without a professionally digitized PES file. Whether you learn to digitize properly or outsource to experts, this crucial step transforms your logo from pixels to perfect stitches.
Your brand deserves embroidery that looks as polished as your website or business cards. Start with the right PES file, and you're already 90% of the way there. Now go make something amazingyour machine is waiting.