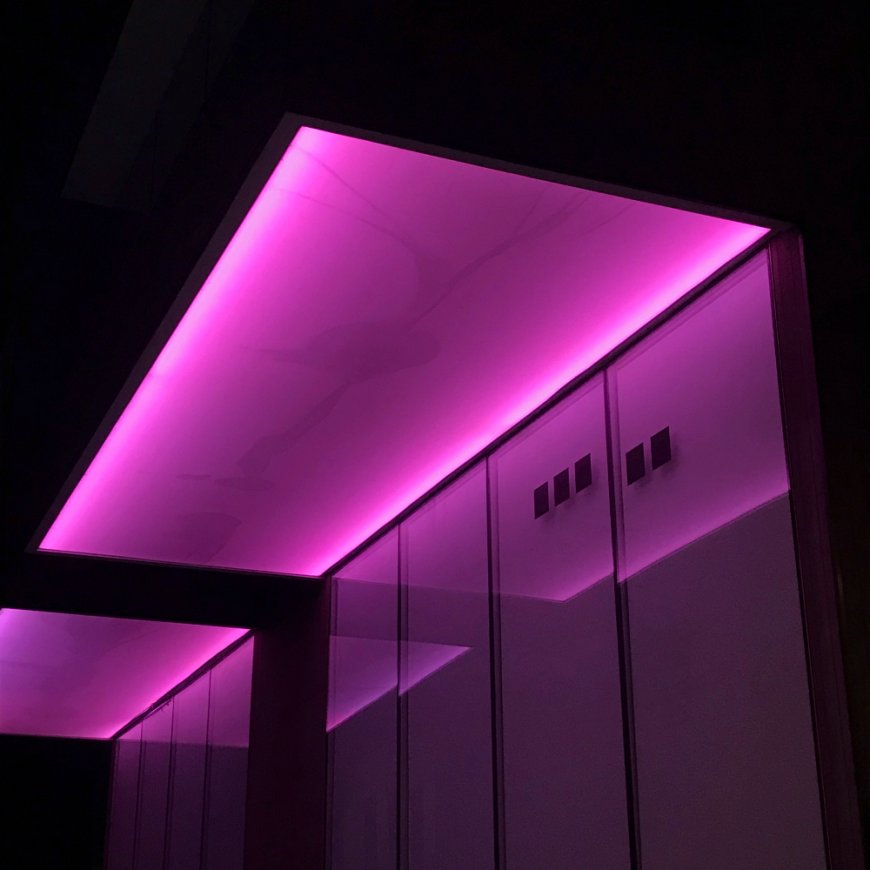
How to Install a Smart LED Flat Panel Light: Step-by-Step
Learn how to install a smart LED flat panel light step-by-step for better efficiency, style, and control in your space.

Smart lighting is changing how homes and businesses use energy. A smart LED flat panel light not only brightens your space but also offers wireless control, energy savings, and a sleek design. If you're ready to upgrade your lighting, follow this step-by-step guide to install LED smart panel lights with confidence.
Tools and Materials You'll Need
Before starting, gather all necessary tools:
- Smart LED flat panel light
- Mounting kit (included with the panel)
- Screwdriver or power drill
- Wire stripper
- Wire connectors
- Voltage tester
- Ladder or lift (if ceiling-mounted)
- Compatible smart hub or app
Safety first: Always turn off the power at the circuit breaker before working on any electrical installation.
Step 1: Choose the Right Smart LED Flat Panel Light
Select a smart LED flat panel light that suits your ceiling typedrop ceiling, surface mount, or recessed. Look for features like dimmability, app or voice control, and compatibility with your smart home system.
Step 2: Turn Off Power Supply
Head to your circuit breaker and switch off the power supply for the area you'll be working in. Use a voltage tester to confirm that no current is flowing to the wires. This step ensures your safety during the installation.
Step 3: Remove the Old Fixture (If Applicable)
If you're replacing an existing light, carefully remove it from the ceiling. Disconnect the wires and unscrew the mounting hardware. Keep the wiring exposed but safe for the next step.
Step 4: Prepare the Mounting Area
Whether you're working with a T-bar ceiling or drywall surface, ensure the area is clear and ready. Most smart LED lights come with a universal mounting bracket or clips. If surface-mounting, mark drill points and secure the bracket using screws and anchors.
Step 5: Connect the Wiring
Match the wires from the panel to the corresponding wires in the ceiling:
- Black (live) to black
- White (neutral) to white
- Green or bare (ground) to ground
Use wire connectors to secure the connections. Double-check that no copper is exposed.
Step 6: Attach the Smart LED Panel
Once wiring is complete, lift the smart LED flat panel light into position. For recessed installations, simply lay it into the ceiling grid. For surface mounts, align it with the bracket and screw it in securely. Make sure it's flush and stable.
Step 7: Restore Power and Test the Light
Turn the power back on at the breaker. Your smart LED lights should now power on. Test basic functionality using the wall switch before setting up smart features.
Step 8: Connect to a Smart Hub or App
Most LED smart panel lights connect via Wi-Fi, Zigbee, or Bluetooth. Use the manufacturer's app to pair your panel:
- Download the app (e.g., Tuya, Smart Life, Philips Hue)
- Add a new device
- Follow pairing instructions
Once connected, you can control brightness, color temperature, scheduling, and moreall from your smartphone or voice assistant.
Step 9: Customize Settings
Within the app, you can:
- Set brightness levels
- Change color temperatures (warm to cool)
- Create schedules
- Set up automation with motion sensors
- Group multiple panels together
This transforms your lighting into a responsive, energy-efficient system.
Tips for Installation Success
- Double-check measurements to ensure the panel fits your ceiling space
- Use strong anchors if mounting on drywall
- Connect to a strong, stable Wi-Fi network
- Update your smart lighting firmware through the app when prompted
Why Choose Smart LED Lights?
Smart LED lights are an investment in efficiency and convenience. Benefits include:
- Long lifespan (up to 50,000 hours)
- Lower energy bills
- Voice and app control
- Sleek, modern design
- Environmentally friendly
They're ideal for both residential and commercial spaces looking to modernize.
Maintenance Tips
To keep your smart LED flat panel light performing at its best:
- Dust the surface regularly with a microfiber cloth
- Check app updates to ensure optimal performance
- Inspect wiring yearly for commercial setups
- Reset the panel if it becomes unresponsive to your app or voice commands
Conclusion
Installing smart LED flat panel lights is a simple, impactful upgrade for any space. With basic tools and this step-by-step guide, you can do it yourself and enjoy smart, energy-efficient lighting immediately. Whether youre enhancing a home office or outfitting an entire building, LED smart panel lights deliver style, control, and savings.


